Tuesday 28 May 2013

Treasury Tuesday

'summer shades' by ButterBlossoms

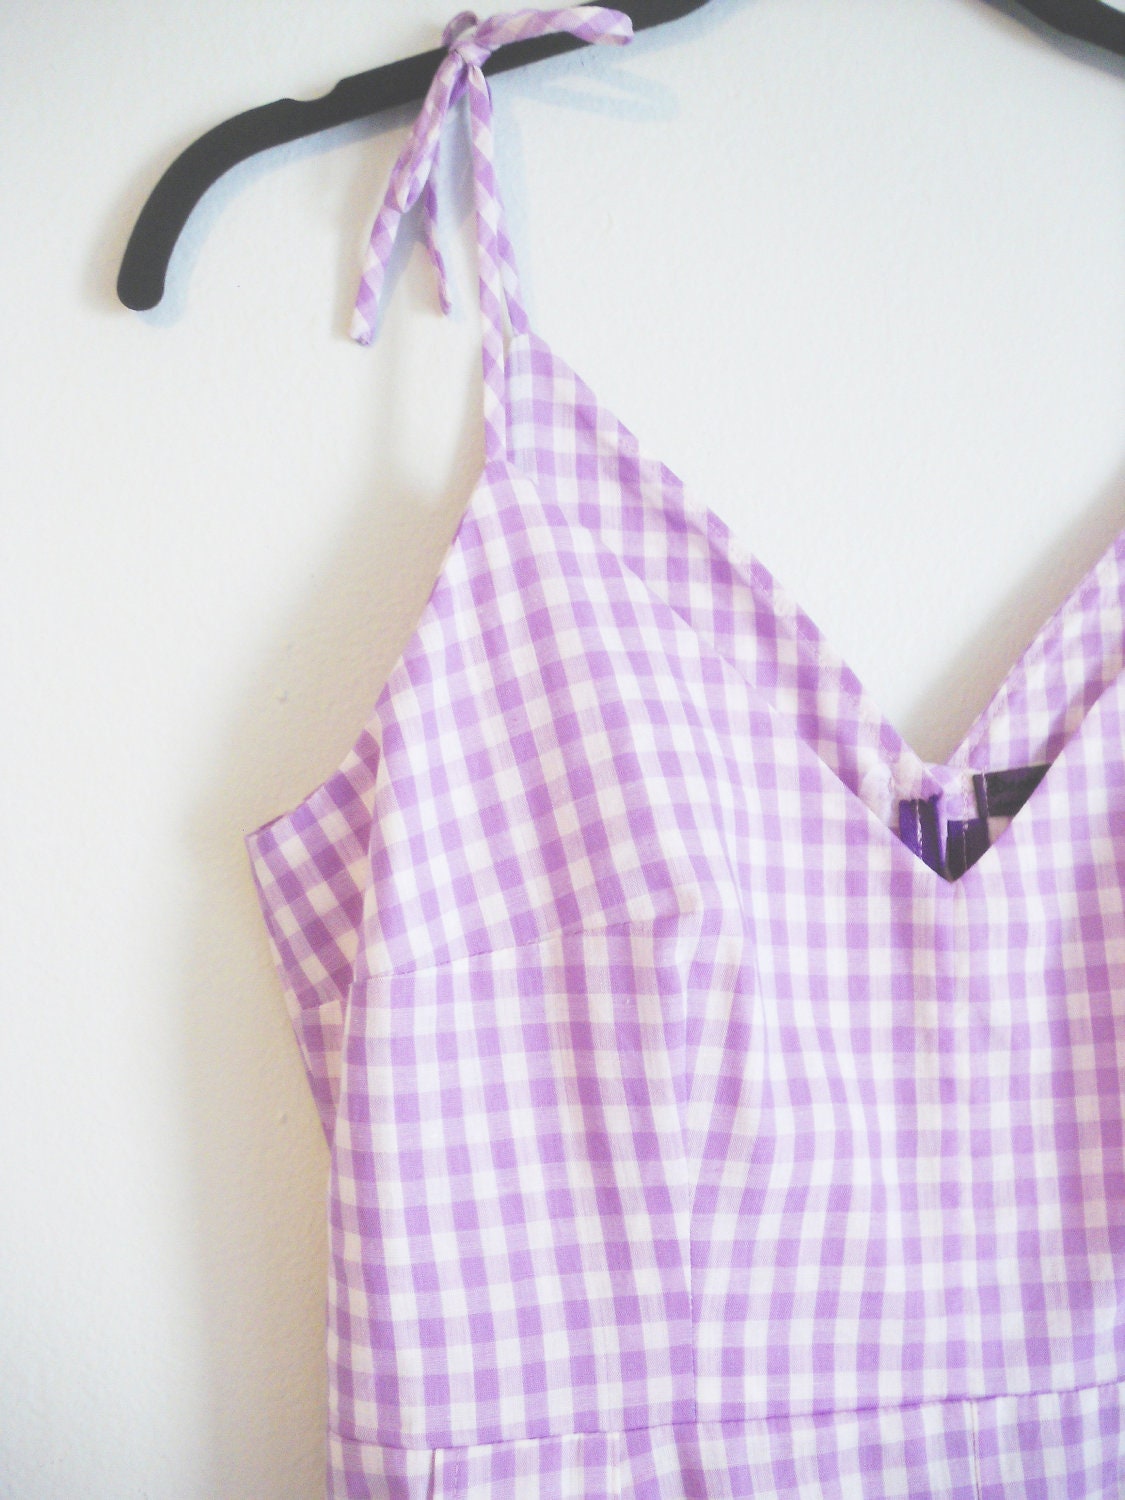
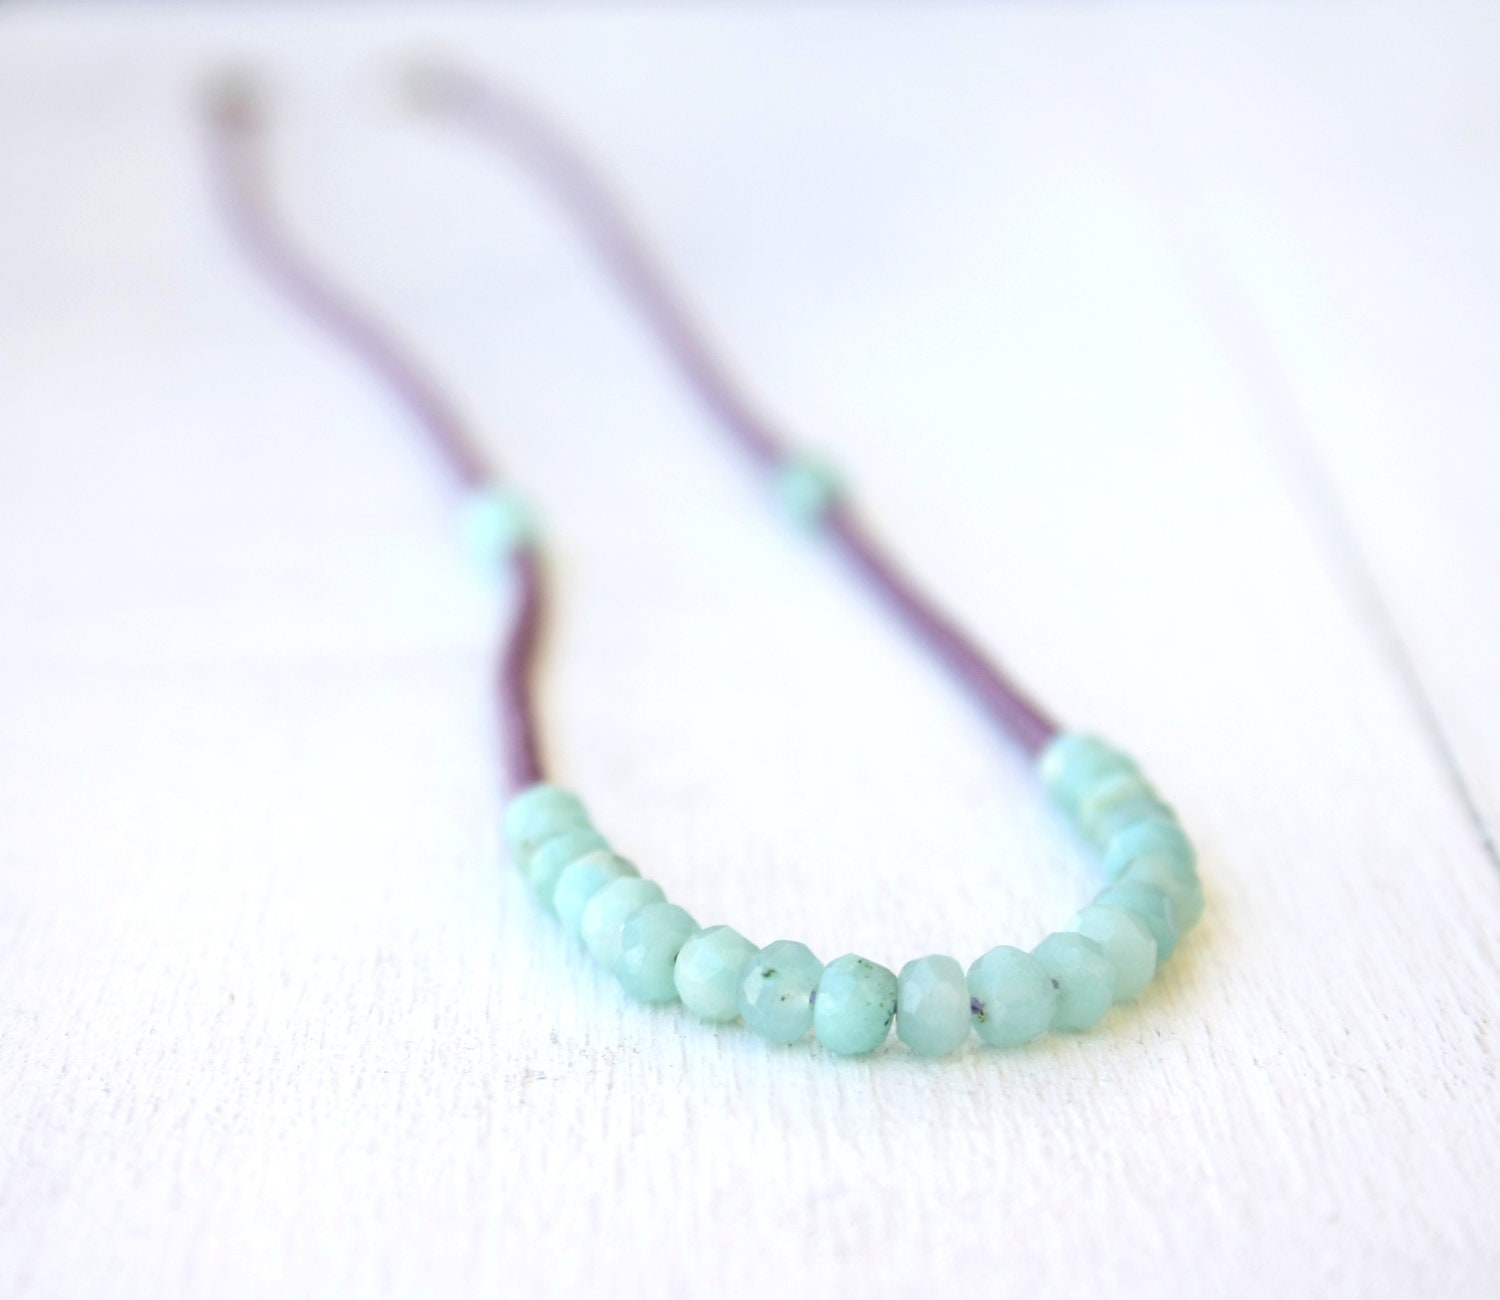
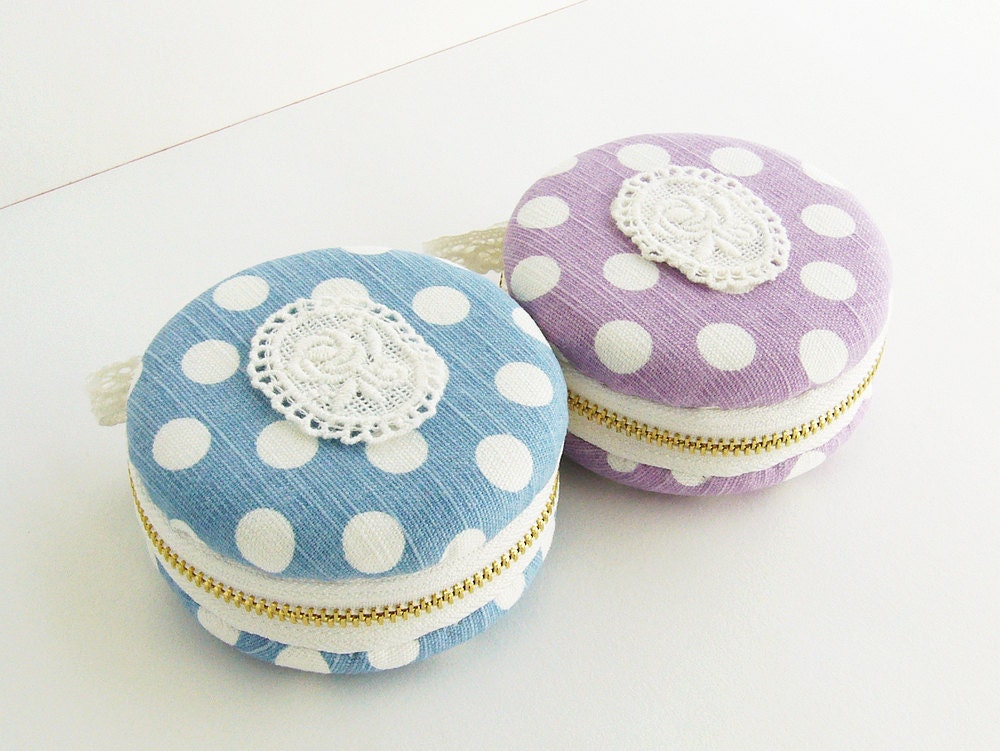
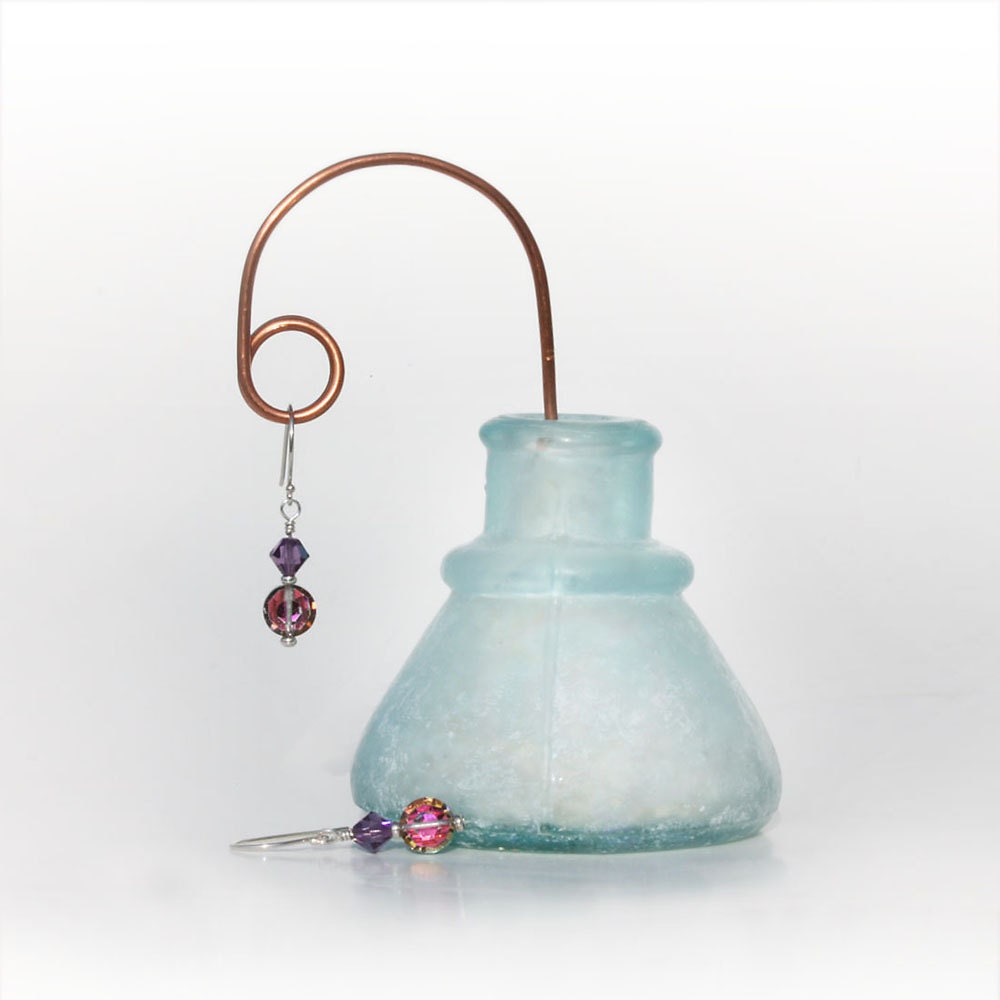
Felicity Dress, pale purple, V neck, pockets, romantic country style, size small - deconstructika Purple and Seafoam Green necklace / beaded necklace mint and purple / spring summer fashion / pastel colors FREE SHIPPING - SilverLinesJewelry Polka Dot/macaron coin purse /rose lace/macaroon box or Jewelry pouch/Romantic - qiqikoko Vintage Vitriol Glass Beads Swarovski Crystal Beads Sterling Silver Dangle Earrings Limited Edition - ogdenarthaus
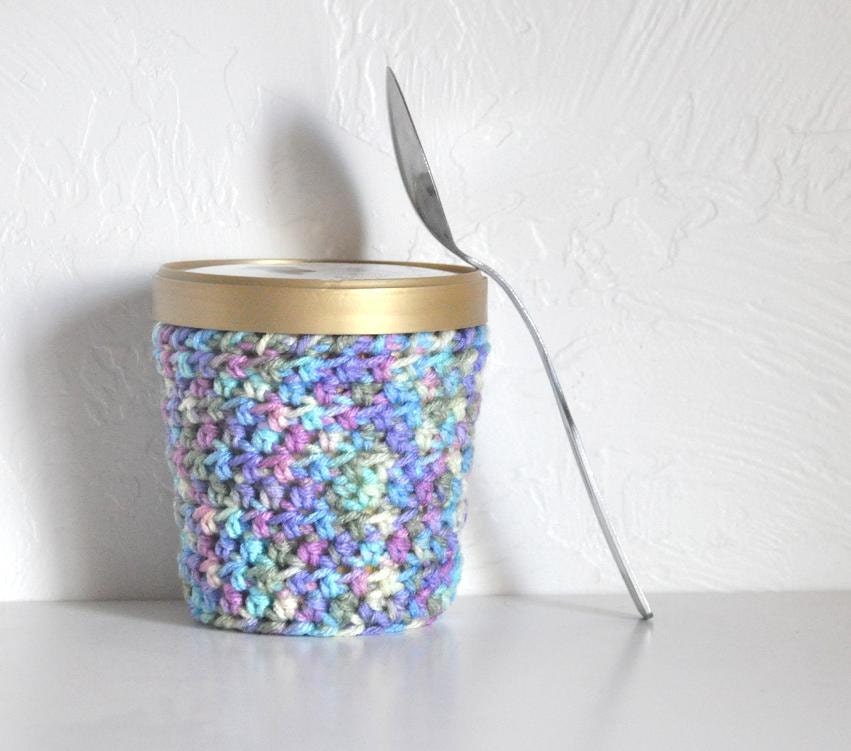
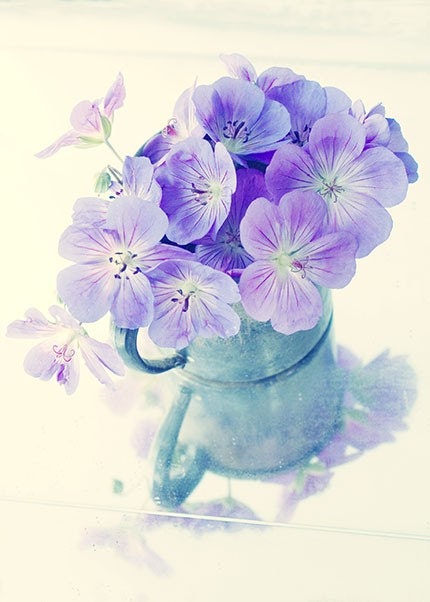
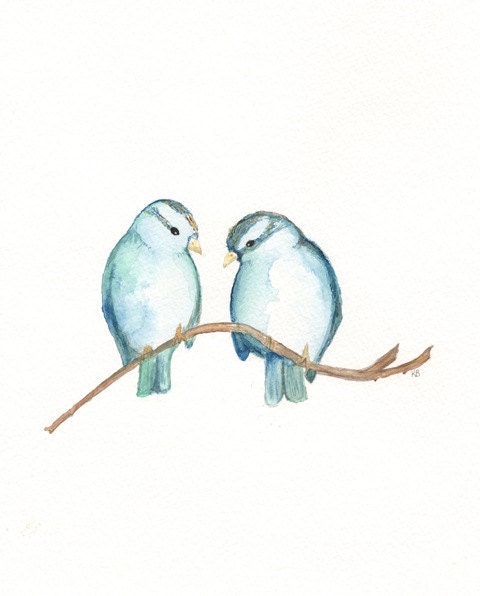
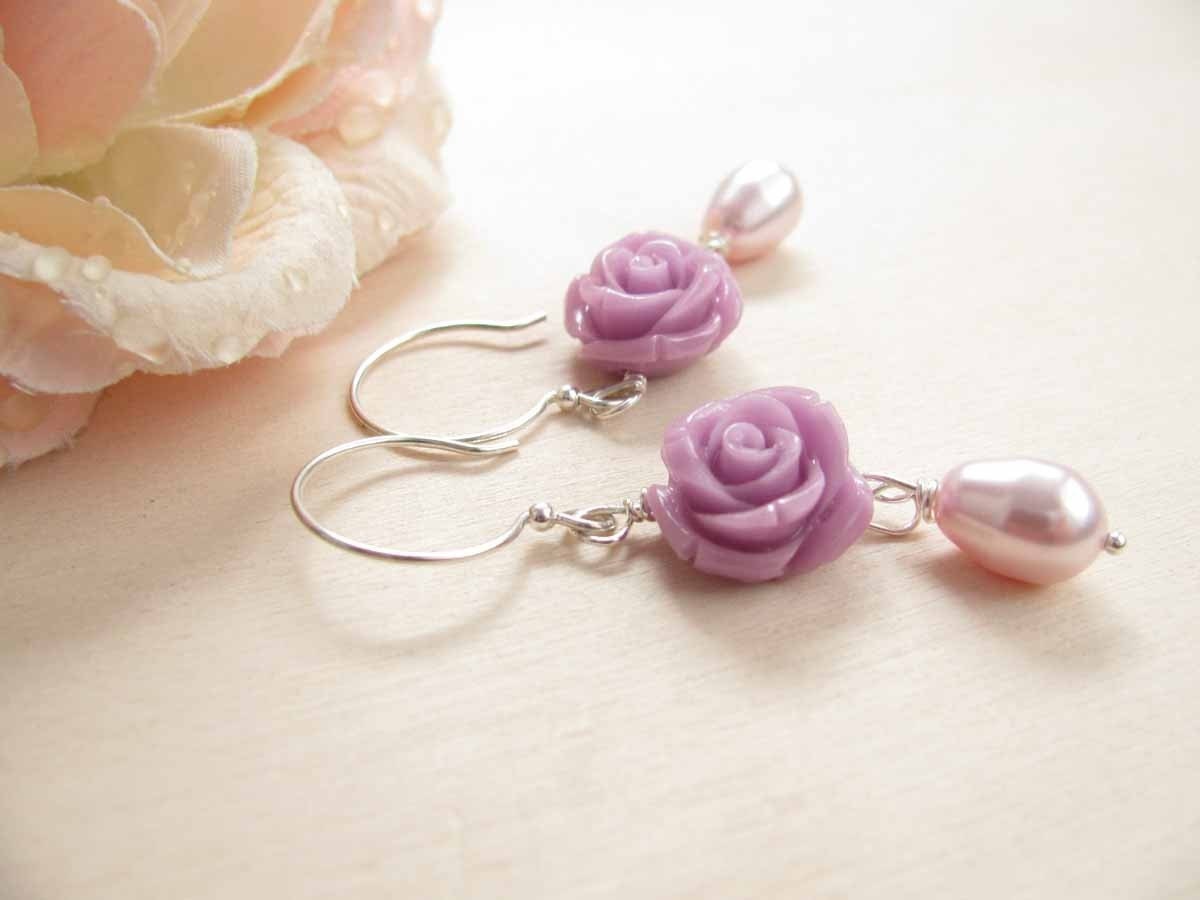
Ice Cream Cozy Pint Cover Sleeve Mommy-to-be Gift Artist Print Blue Purple Watercolors - AllThingsGranny Purple Flower Card, Blank Photo Card, Turquoise and Violet Flower Photograph - JudyStalus Blue Sparrows and Nest/ Nest with 3 blue eggs / Watercolor Prints / 2 for 35.00 / Mother's Day Gift Sale - kellybermudez Lilac rose earrings Romantic earrings Flower earrings Mothers day jewelry - BijouxdelloStregatto
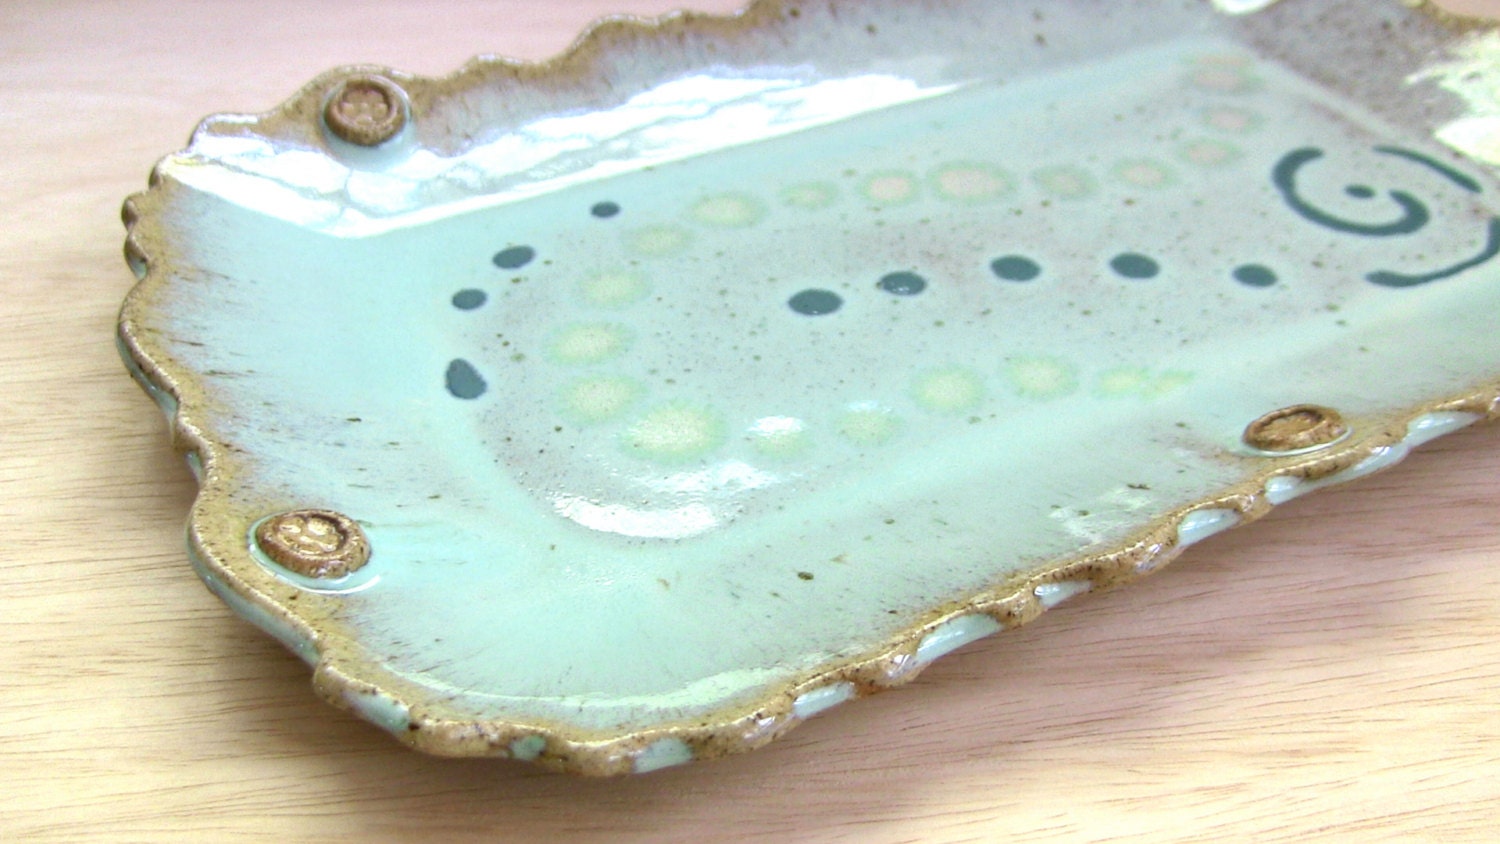
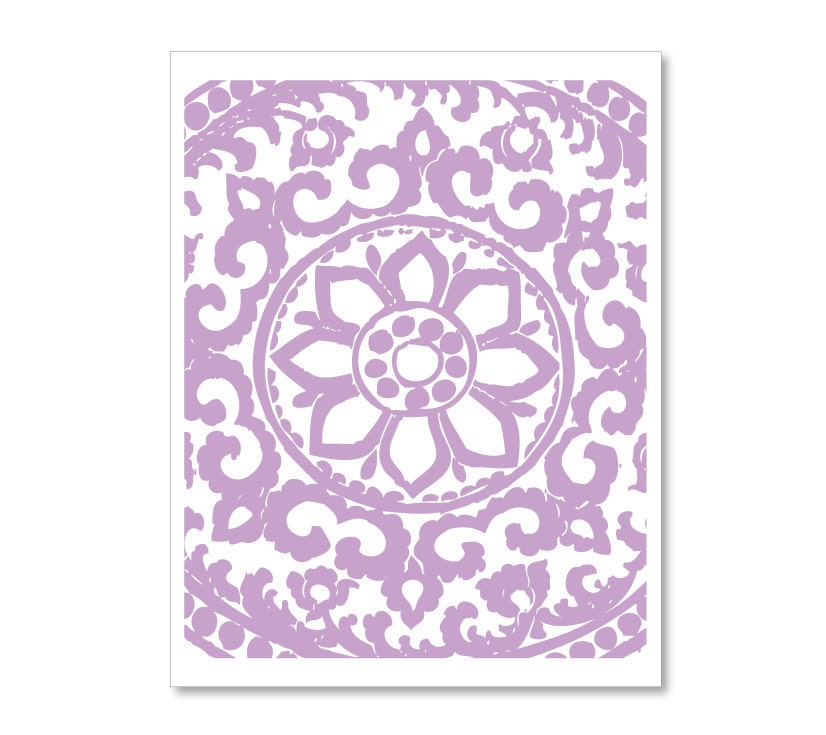
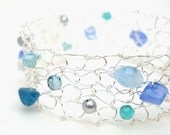
Ceramic Platter Serving Tray Rectangular - SeedlingClayworks Alicante  Porcelain Stud Earrings - Turquoise, Gray, Purple, Coral ,Sku blue- Free Gift Wrapping - MaaPstudio Art Deco Ornament Digital Print - Modern Home Decor Wall Art - Lavender Violet Purple - Abstract Flower - AldariArt Shades of the Sea Silver Wire Cuff  Mermaid Sea Glass Bracelet Chic Modern blue aqua teal jade - lapisbeach
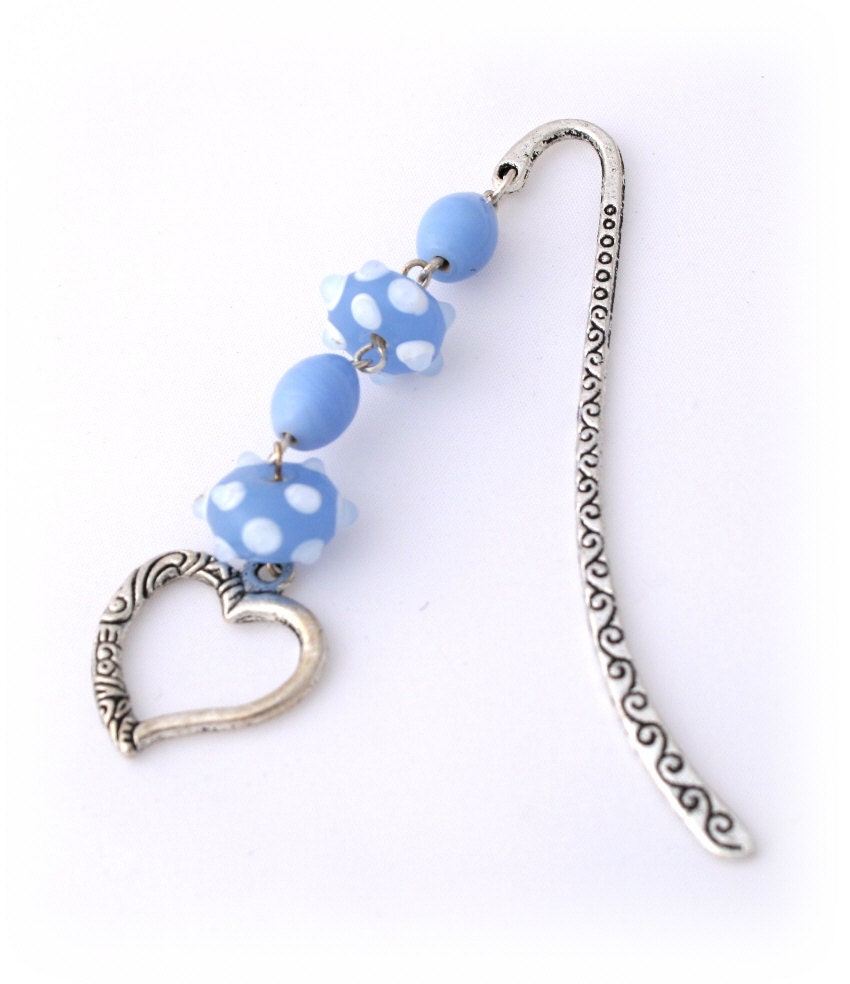
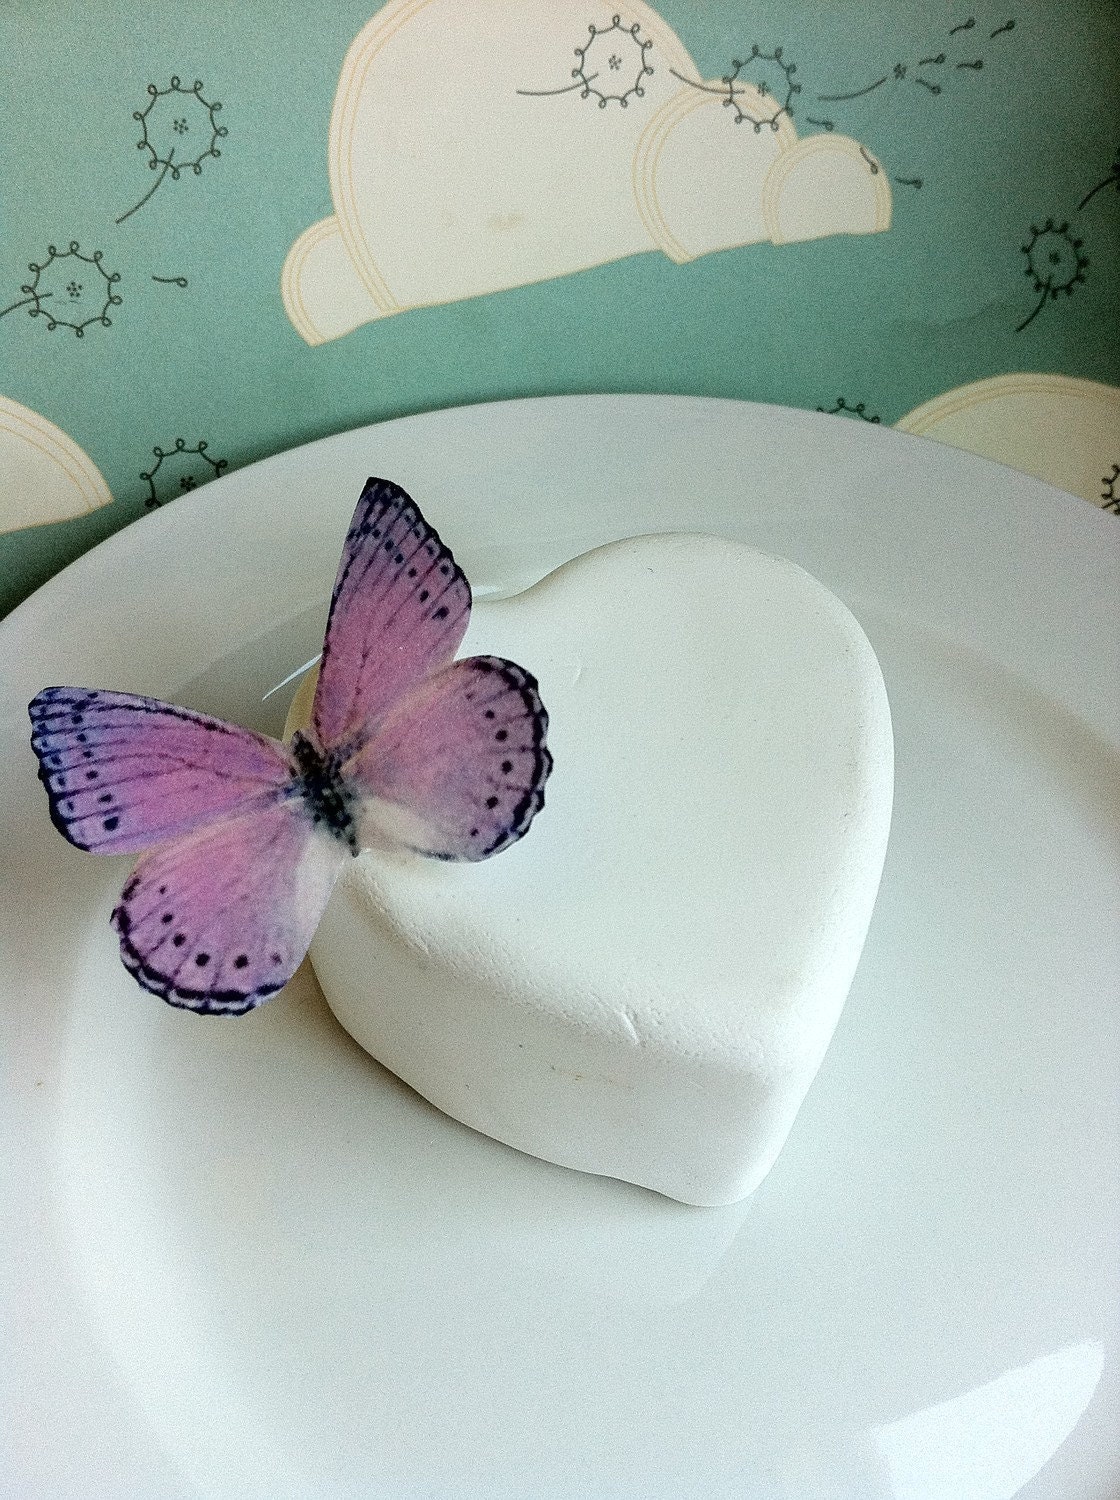
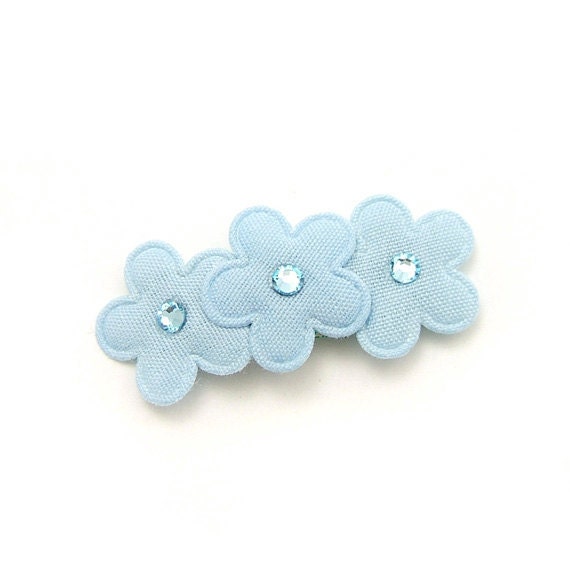
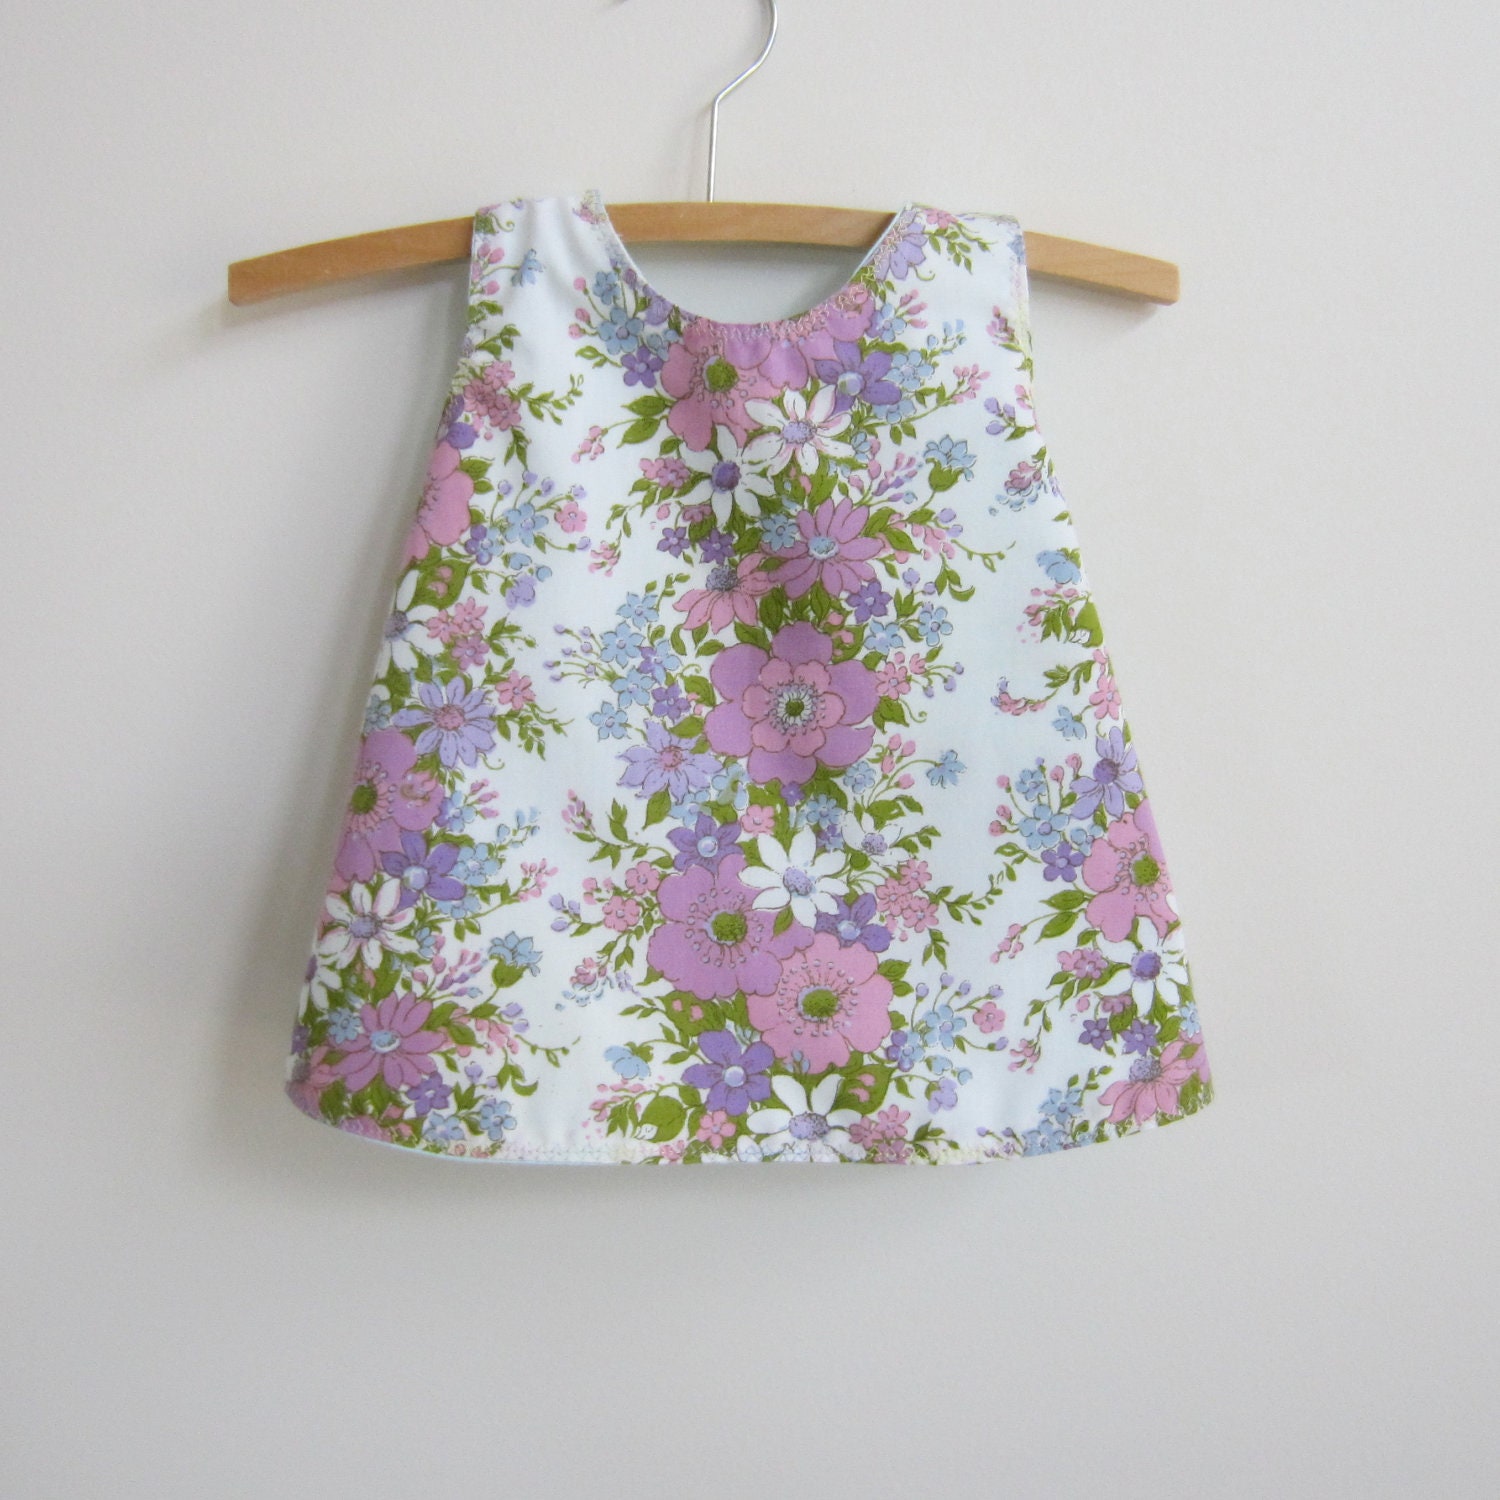
Blue Beaded Bookmark - Pale Blue White Baby Ice Blue - Silver Heart - Spotted Baby Blue - Bespoke Beaded Design - Lottieoflondon Light Purple and Black Edible Butterfy Cupcake Topper - Wedding Cake Decoration - SugarRobot Baby Blue Flower Clip, Flower Barrette, baby, toddler, girl, Ice Blue, Cornflowers, Forget Me Not, 3ft - MySweetieBean Upcycled baby dress or pinny, 70 style A line, size 000, 0 - 3 months, mauve, pink purple and white flowers green leaves eco kid - BananaOrangeApple

Sunday 26 May 2013

Seed Bead Scoop Necklace

Happy Bank Holiday Weekend Everyone

I haven't been able to get much claying in lately! Life if taking over again as we are looking for a mortgage to buy our flat, so far its been one problem after another so a much needed day out with friends was so needed.

A Fringe Necklace
A Fringe Necklace


I planned to wear a simple black chiffon top but as we was going from day to night I felt it needed something to jazz it up.  I knew what I wanted to create in my head, it was a long seed bead fringe necklace in black, but despite my efforts I couldn't find a tutorial free or paid anywhere on the net.  I needed to get started so I settled on a multi strand scoop necklace instead and set about threading my beads.

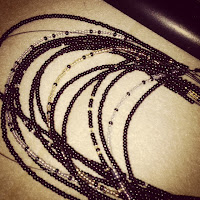
First design for the beaded scoop necklace

It took me three days to complete as I kept changing the colour scheme (an earlier version can be seen above) but finally decided on black and gold after I found a selection of gold beads from my old stash.


My Seed Bead Scoop Necklace of Black & Gold handmade by Lottie Of London


Another problem I had was deciding how to finish the necklace, some gold plated cone ends would have been perfect but as time was not on my side I had to settle for jump rings on this occasion, however cone ends can be added at a later date and I think my finished necklace goes perfectly with my top..

My seed bead scoop necklace created to jazz up my simple chiffon top by Lottie Of London


This post is part of Handmade Monday don't forget to check out more great crafter's over on Handmade Harbours Handmade Monday


Monday 20 May 2013

Taking Jewellery Photos

I've been toying around with the idea of taking modelled photographs of my jewellery for a while, wondering  which friends can be bribed with the promise of a bottle of wine or two in return for standing around for a few hours, where to take the photos for the best light? what to wear to show off the jewellery at its best.  With so many questions I usually end up putting my ideas to the side for another day.

But a couple of weeks ago on a rainy weekend I decided to take the leap with my 10 year old as the photographer and me the model, just a bit of fun to see how the photos would turn out.  So with a simple white background and some adjustments to the camera settings Amelie was ready to point and click!

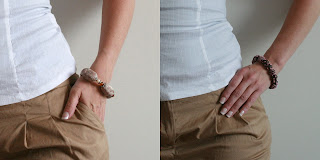
Pre edited photo shots for jewellery
Pre-edited photo shots for jewellery

Above you can see the pre-edited photos, its not that easy this modelling lark trying to ensure the jewellery is being displayed at its best and as can only be expected from a 10 year old Amelie did bore of this photographer business quite quickly with shots of the cat and anything else she could snap in between.

I did however get a couple of shots that where usable from this test and with the help of Picasa 3 managed to edited some shots that I am quite pleased with.


Edited Shots of Jewellery with Picasa 3 by Lottie Of London
Edited Shots of Jewellery with Picasa 3
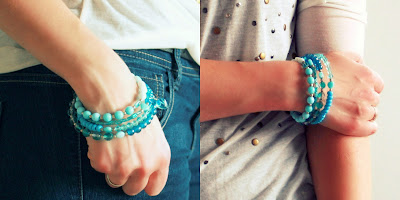
And a couple of bracelet shots...

Edited Shots of Jewellery with Picasa 3 by Lottie Of London
Edited Shots of Jewellery with Picasa 3
I think the results are quite promising especially with the use of editing within Picasa 3 a free to download photo editing programme.  My next goal is to bribe the old man into taking some shots as Amelie has now tired of a future in photography.

What do you think of modelled photo shots do you think they play an important part in deciding if you want to bu an item of jewellery esp from online?

This post is part of Handmade Monday don't forget to check out more great crafter's over on Handmade Harbours Handmade Monday


Monday 13 May 2013

Polymer Clay Lava Beads Tutorial

Here's a simple tutorial for Polymer Clay Lava Beads, perfect if your new to polymer clay and finding your feet with new techniques.

Lava beads are created using polymer clay and sea/rock salt to create a wonderful effect all over the beads resembling lava.

To start all you need is some sea or rock salt, scrap clay and some clay in the chosen colour for your beads.
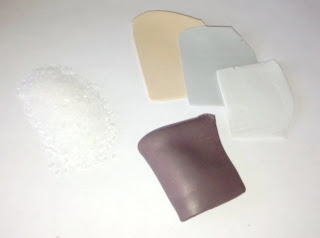
Polymer Clay Lava Beads Tutorial - Prepare all your items ready to start

My polymer clay beads ready for salt application
 Once you've created your beads using your scrap clay and outer colour layer (above), start applying the sea salt to your beads by either rolling and squishing the salt into your clay or applying the salt to the beads by hand, you will probably find that your beads will lose there desired shape as you apply the salt into the clay as seen below.
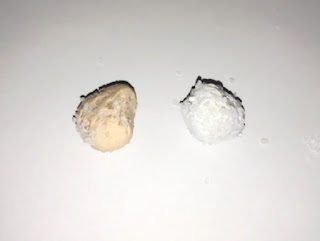
 
My Polymer Clay Lava Beads with sea salt applied loses its shape

 Because I want my beads to be round I gently re-rolled them between my palms this helped to embed the sea salt deeper into the beads which creates a deeper effect, it also give you the opportunity to see if you want to apply more salt to any large gaps on the beads.
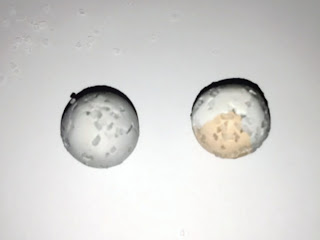
 
My polymer clay lava beads have been re rolled, embedding the sea salt

Once your happy with your beads its time to create your bead holes and cook them.  Once they are cooked and cooled simply place the beads into a glass of water and leave them to allow the sea salt to dissolve.
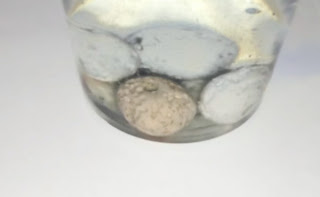
My polymer clay lava beads placed in water to dissolve the salt

It does'nt take long for the salt to dissolve so dry your beads off and they will be ready to use, here's how mine turned out below.

My Polymer Clay Lava Beads

This is quite a nice and simple technique which I plan to use for some future designs.

I would also like to take the opportunity to apologise for my photo quality here, unfortunately my camera decided to die on me and I had to use my phone, sorry.

This post is part of Handmade Monday don't forget to check out more great crafter's over on Handmade Harbours Handmade Monday